Restoration of an 18th century portrait-
Title: Portret van Adriana Eleonora Catharina Hofman van Someren
Artist: J. van Hien (active from 1770-1775)
Date: 1771
Object type: Painting
Object number: POM00691
Material: OiI on canvas
Dimensions: 75.5 x 61 cm
Collection: Collectie Overijssel
Pendant: Portret van Allard Johan Gansneb genaamd Tengnagel (POM00690)
-
Wax-resin lined in the 1950’s
Paint losses and thin paint layers
Zinc white retouchings which turned white because of zinc’s chemical reaction
The red of the cloak is a very extensive overpainting
Yellowed and crazed varnish
-
Aim: to restore the aesthetic and historic value of the painting, while employing safe methods and reversible materials.
1. Surface dirt removal
The cleaning of paintings from accumulated surface grime is an essential task carried out by paintings conservators daily. This treatment can improve the appearance of the painting and is based on insights into the optics of the surface, materials solubility, art history, and conservation ethics. This painting was first dry cleaned, after which a system of aqueous cleaning solutions was used to obtain an evenly cleaned surface.
2. Varnish removal
Varnishes on paintings tend to deteriorate through ageing. Natural resin varnishes are especially prone to this deterioration. The mastic varnish that was present on this painting had yellowed and developed micro-cracks (crazing). A mixture of organic solvents (to lower the polarity of the solvents) was gelled, subsequently brushing it onto Evolon® CR tissue.
The tissue with the gel was placed on the painting and covered with a sheet of Melinex®.
The area is then massaged until the tissue has been saturated by the varnish. Then, the remaining varnish is removed by cotton swabs loaded with free solvent.
The varnish over the red area at the bottom could not be removed, as the red was an extensive overpainting by a previous restorer. As research proved that there was no original intact paint left under the overpainting, it was decided to leave the overpaint (which then also extended to leaving the varnish on that area, as the two could not be separated).
3. Removal of old fillings and retouchings
Several discoloured retouchings and grey fillings were present on the painting. The overpainting was removed by a mixture of solvents in a Carbopol® EZ gel. Subsequently, the grey fillings were deemed too dark to remain on the painting, in addition to the fact that they locally covered the original paint layer.
4. Intermediate varnish
An intermediate varnish was applied to clarify the difference between original material and later additions. This process also saturated the colours, which facilitated colour-matching the original painting during the retouching stage.
5. Fillings and retouchings
The biggest lacuna in the face was filled again using reversible materials. With a scalpel, the fill was textured to imitate the surface texture of the real canvas and paint layers. Subsequently, the filling was isolated and retouched to reintegrate the lacuna.
6. Final varnish
A final varnish layer was applied to protect the painting and to intensify the appearance of the colours by the refraction of light.
7. Final touches
The final varnish saturated the retouching in the face as well. Over the final varnish, this spot was retouched again. Furthermore, the painting was put back into its frame and received a backing board.
Photography Yara Broekhoff
Client University of Amsterdam (UvA) and Collectie Overijssel
By comparing the x-ray (left) and the infrared radiograph (right), it can be visualised to what extent the filling and retouchings were applied over the original layers

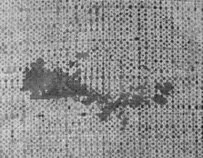
Crazing of the varnish layer on the right side of the painting
-
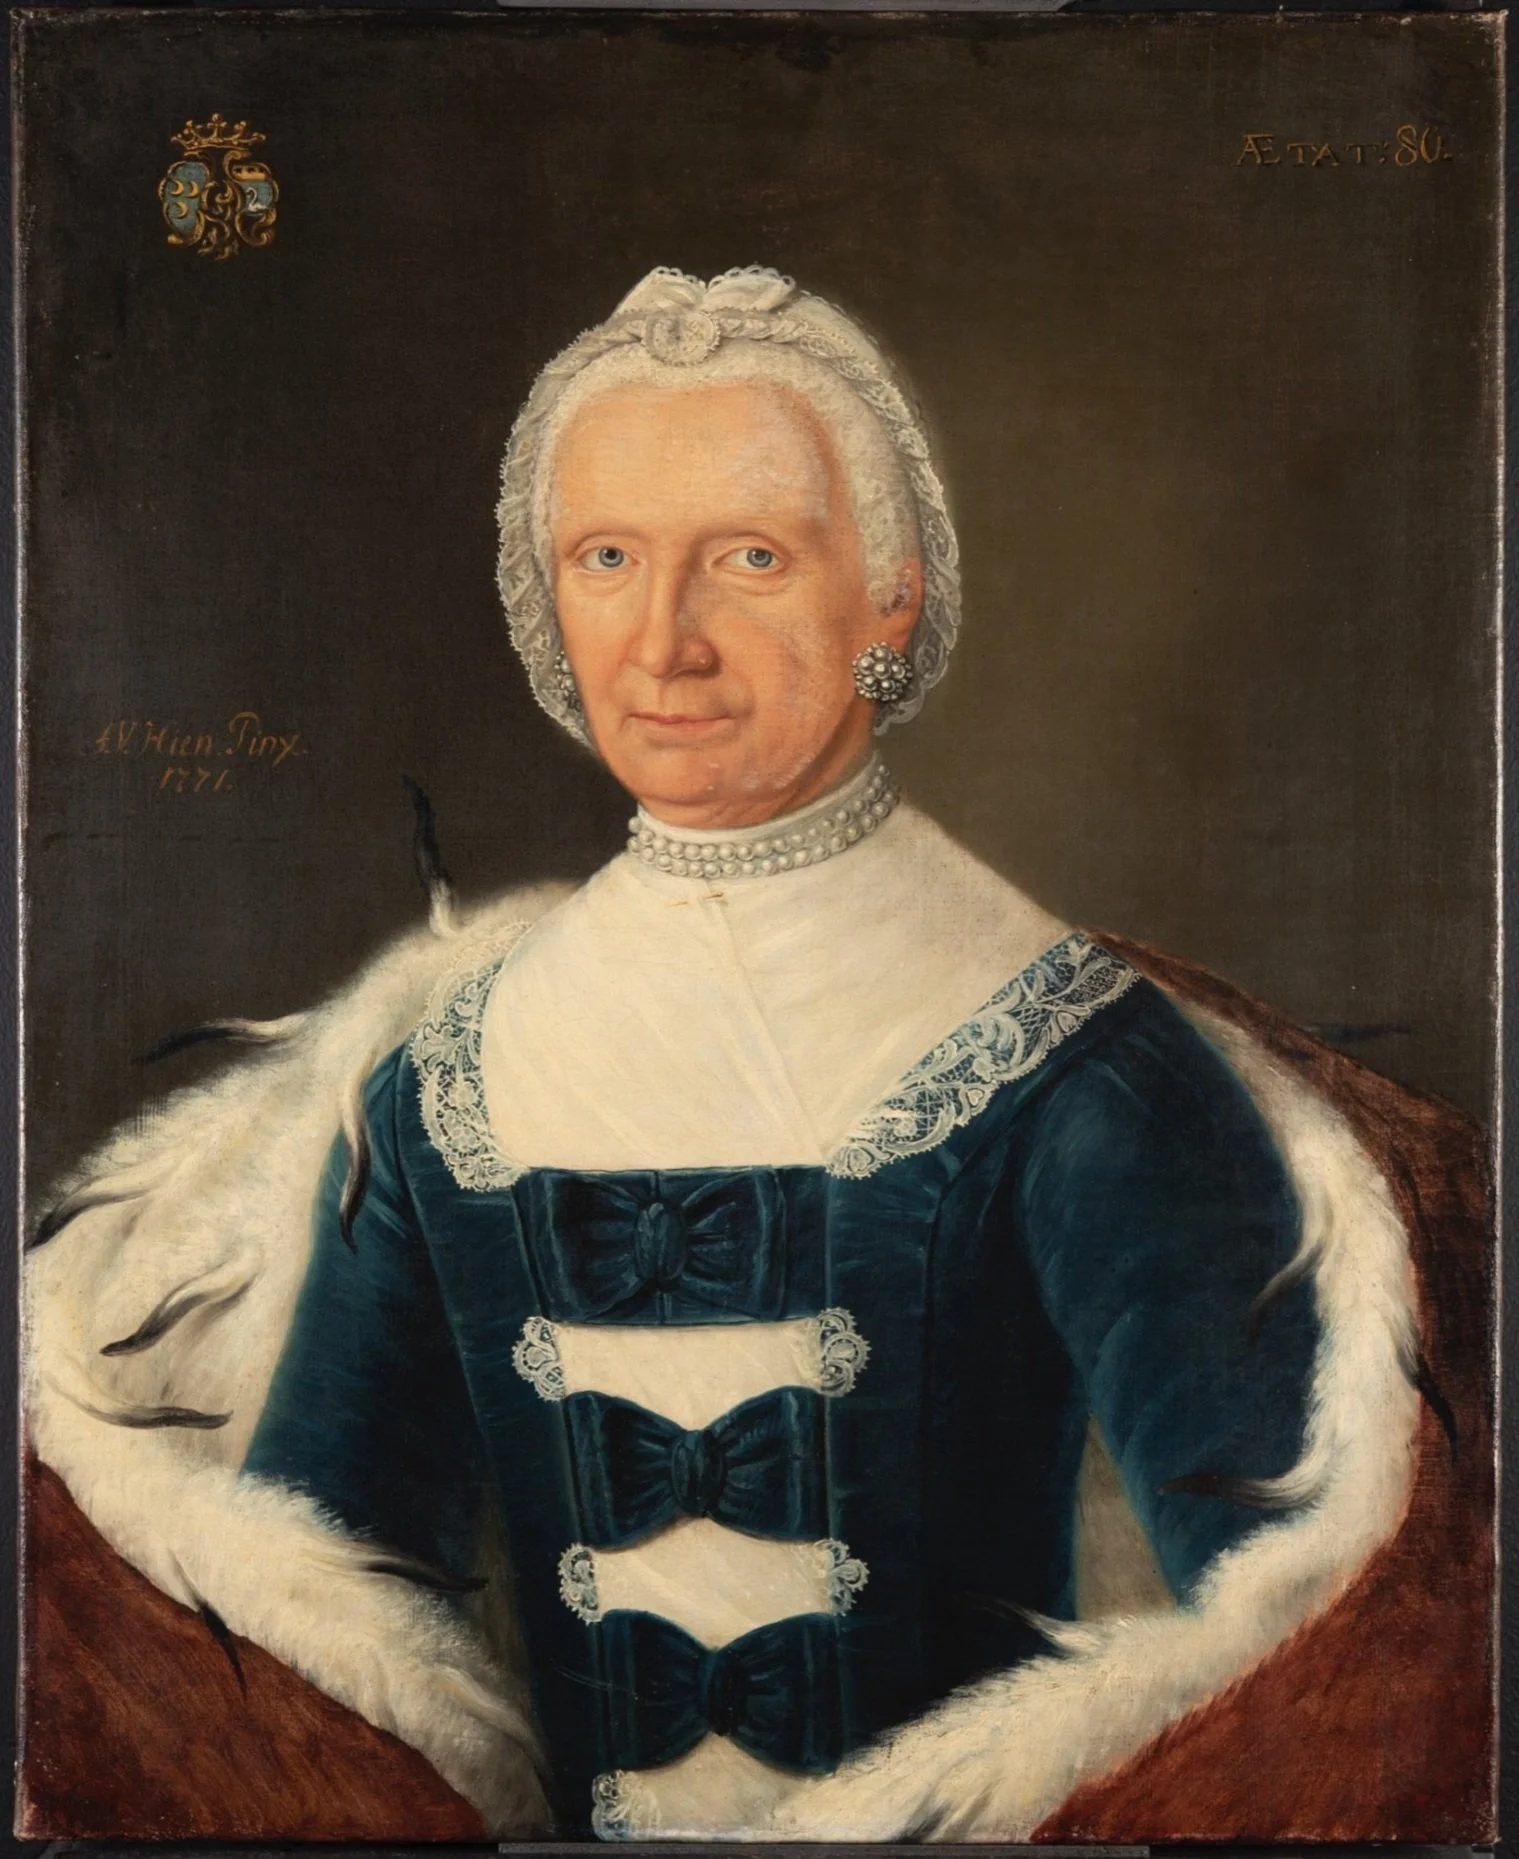
![]()
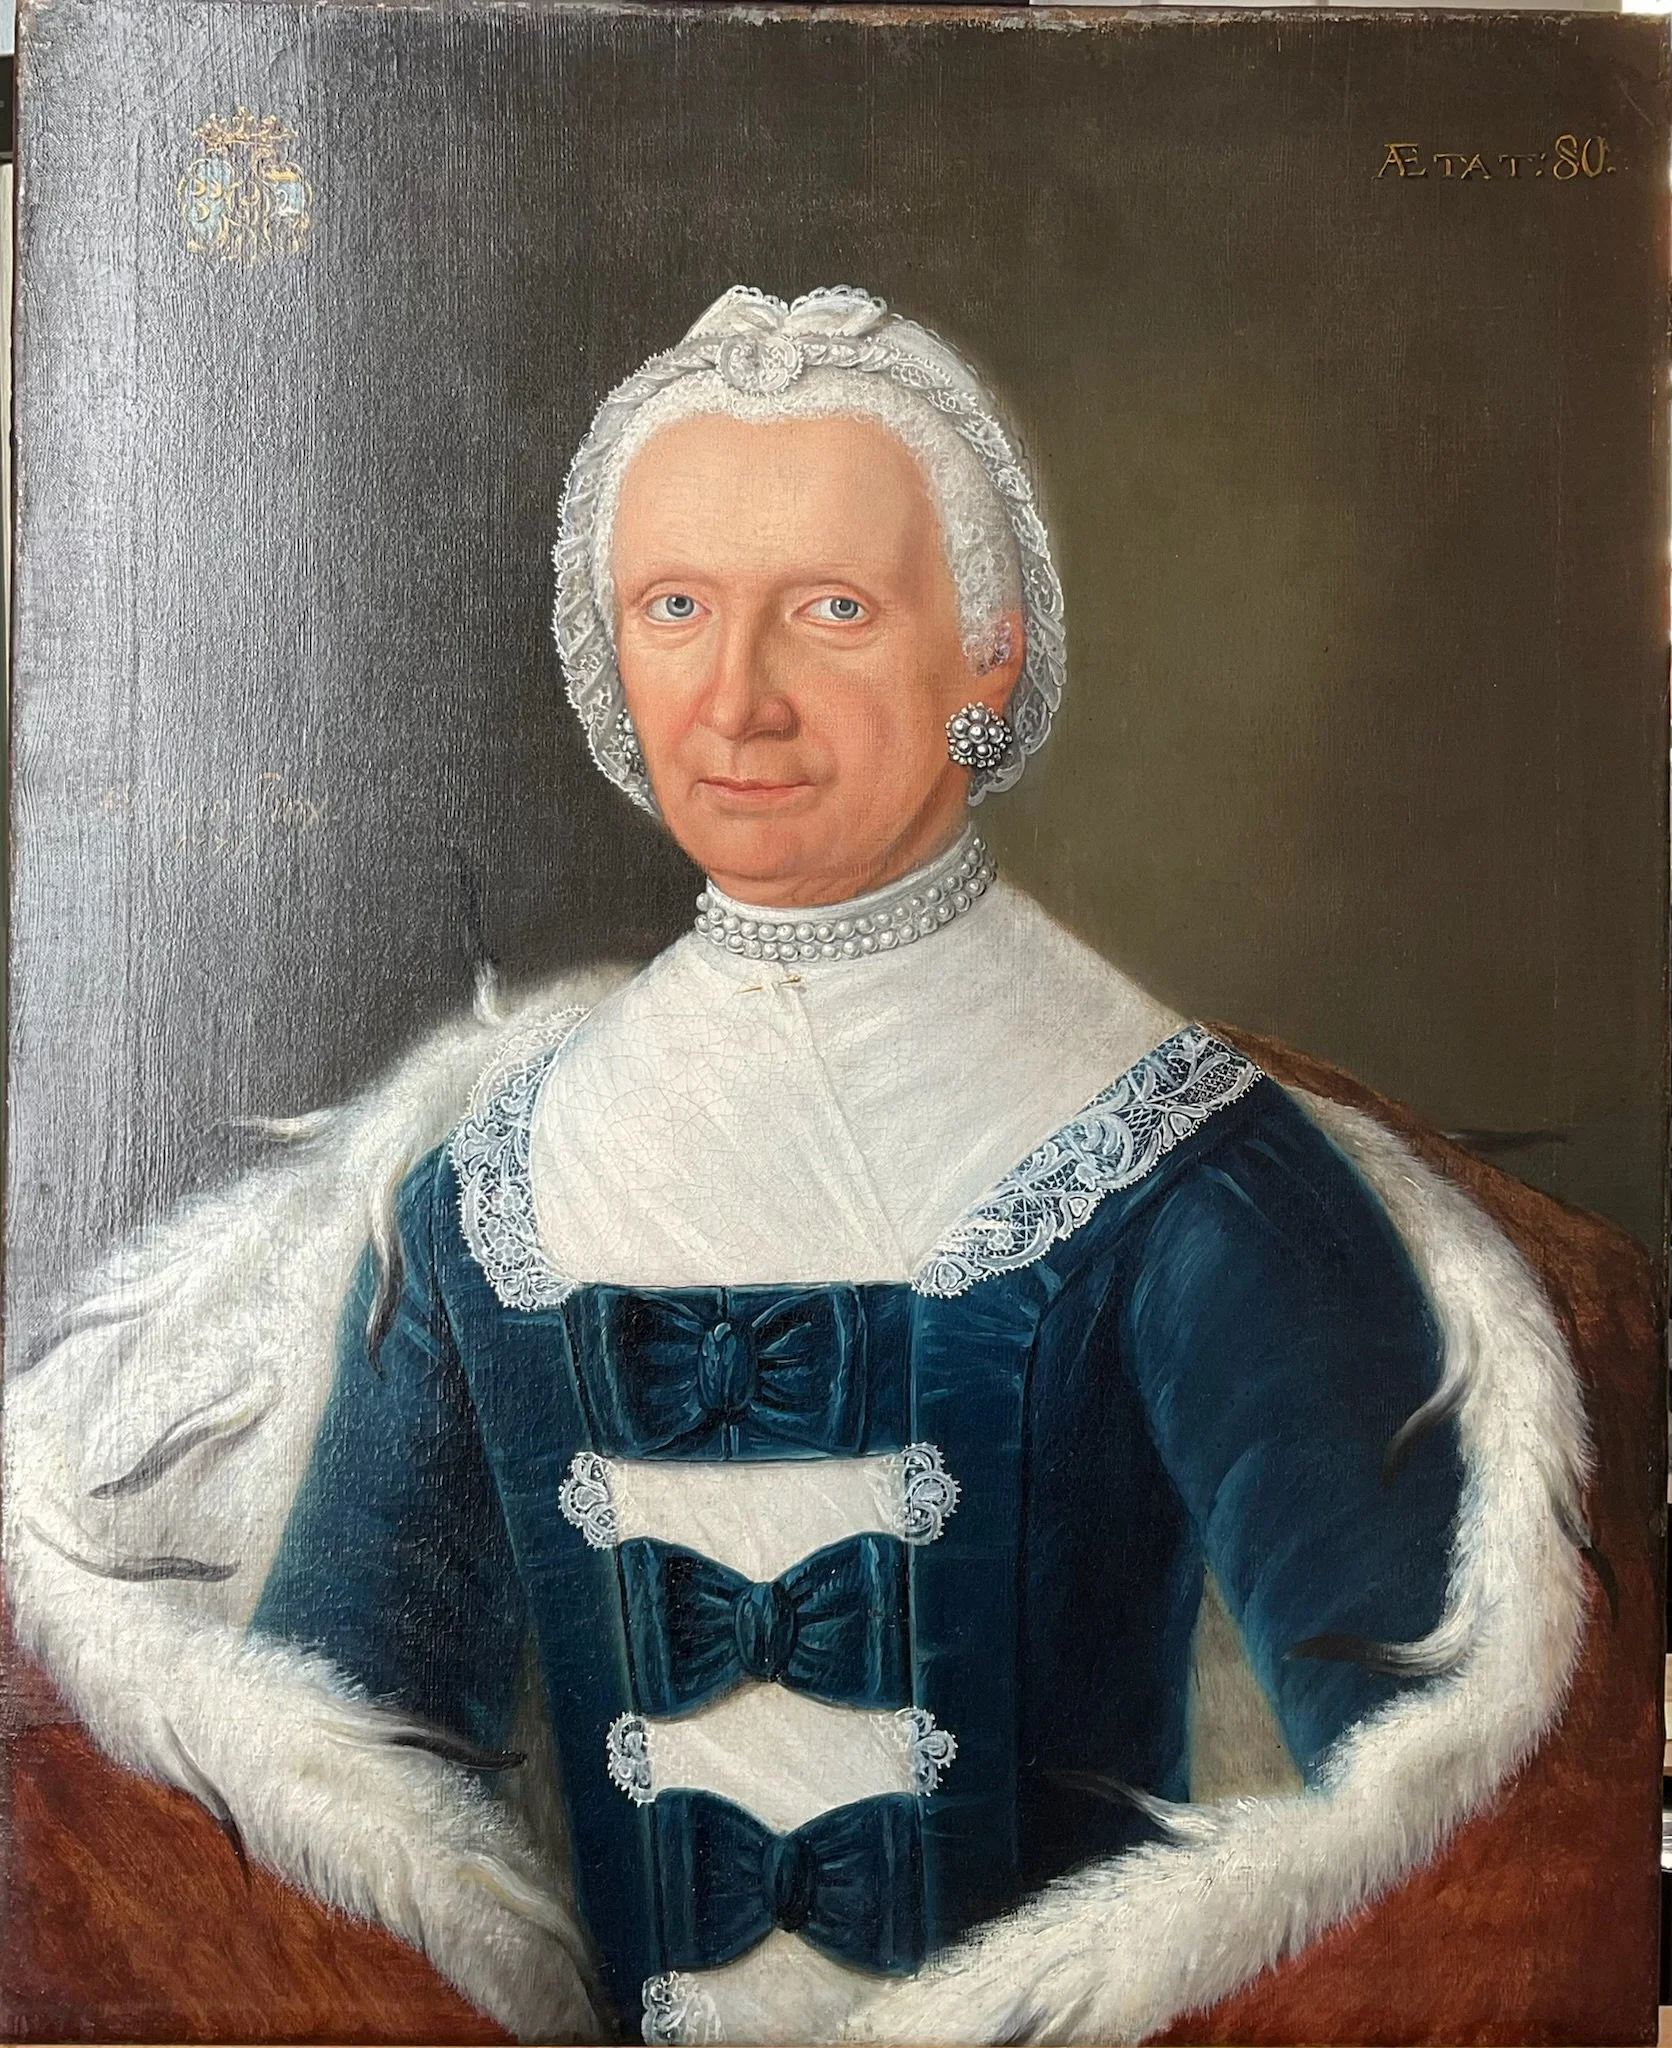
Before treatment
-
![]()
During varnish removal
-
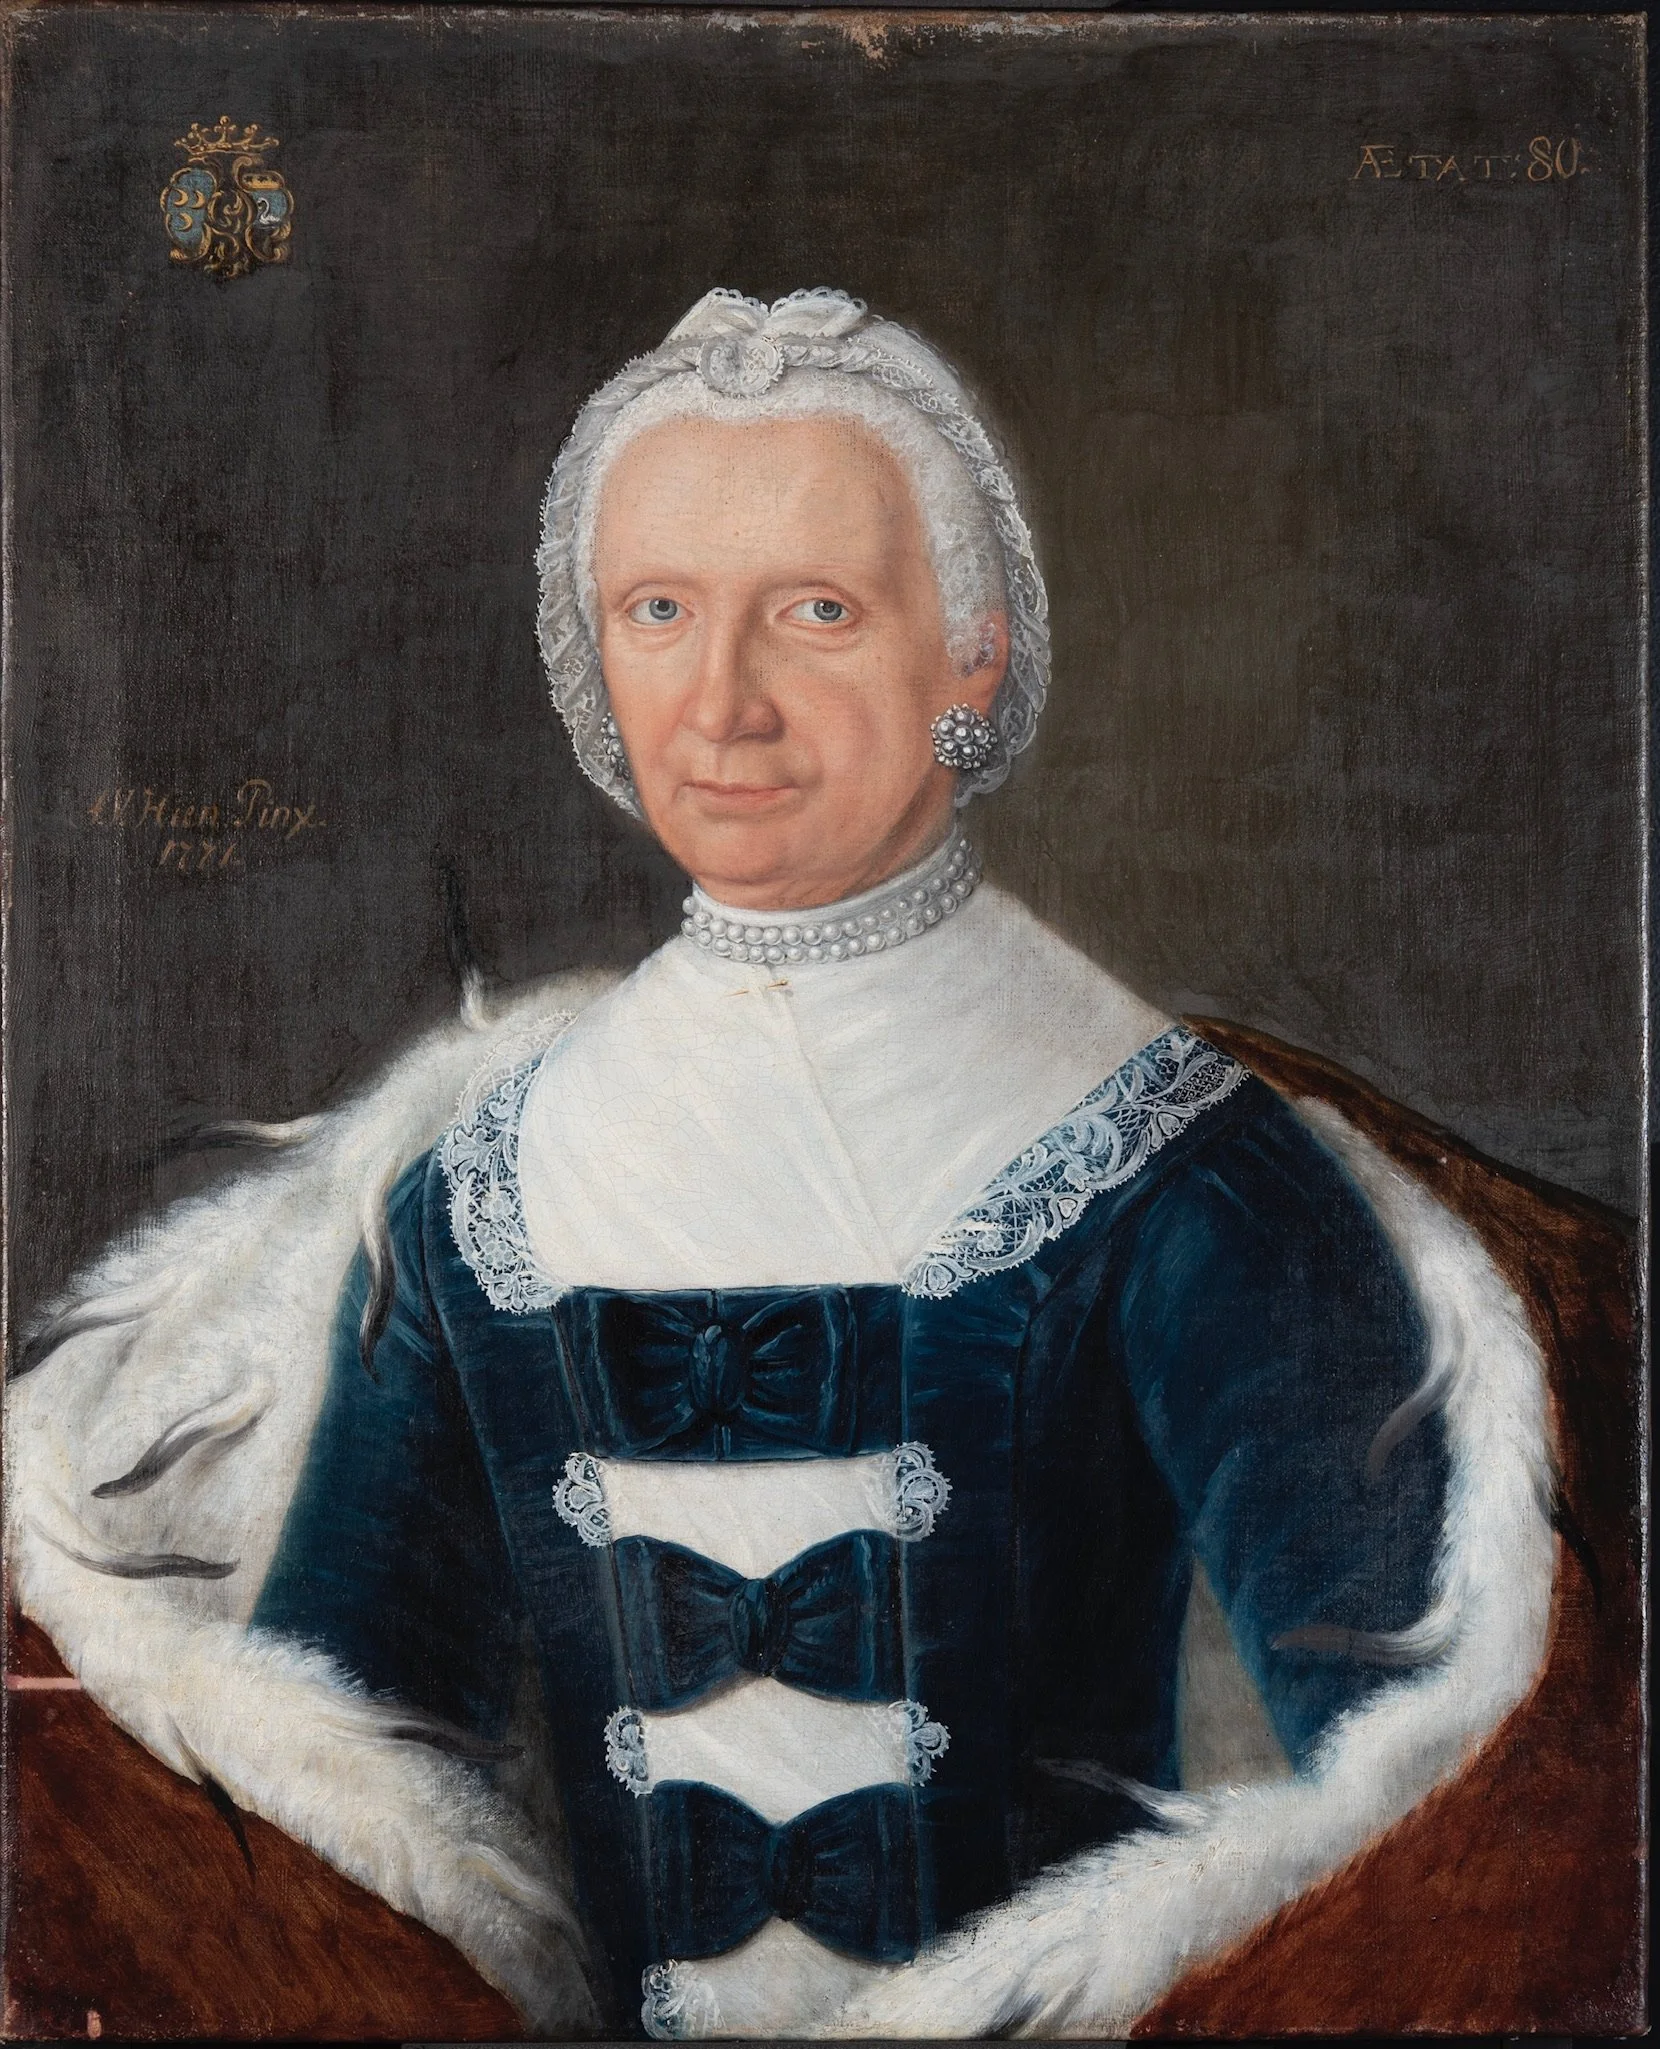
![]()
After varnish removal
-
![]()
After removal of old fillings and retouchings
-
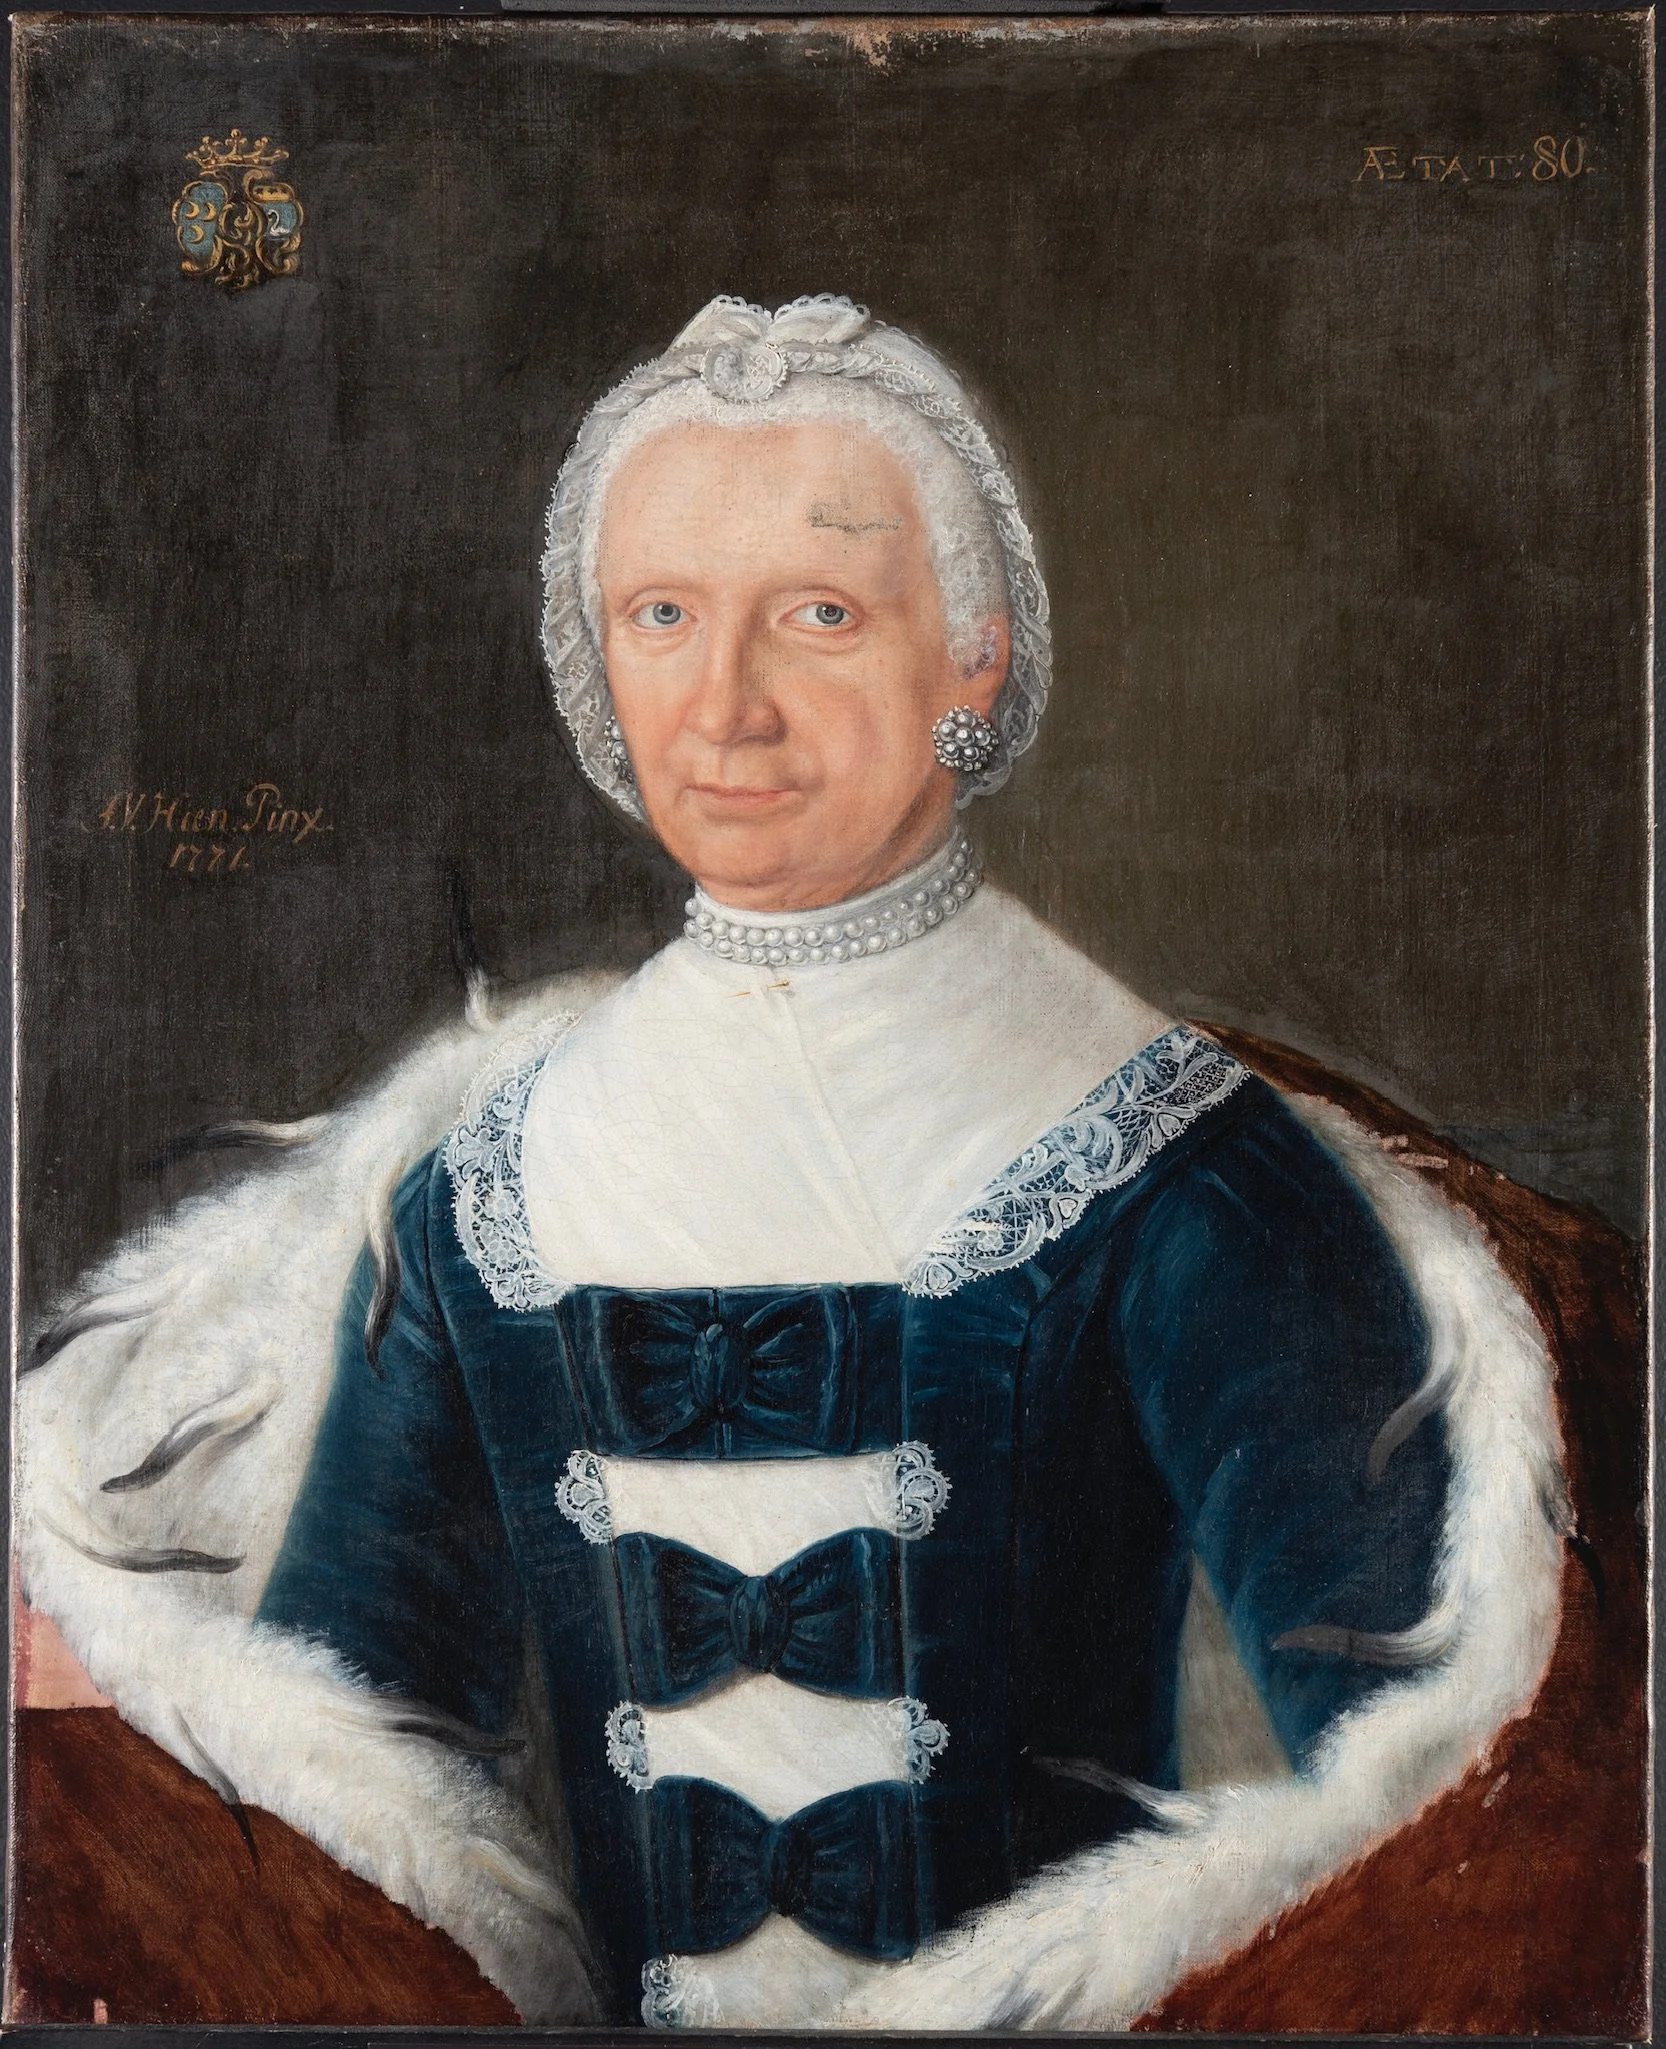
![]()
After intermediate varnish
-
![]()
During retouching
-
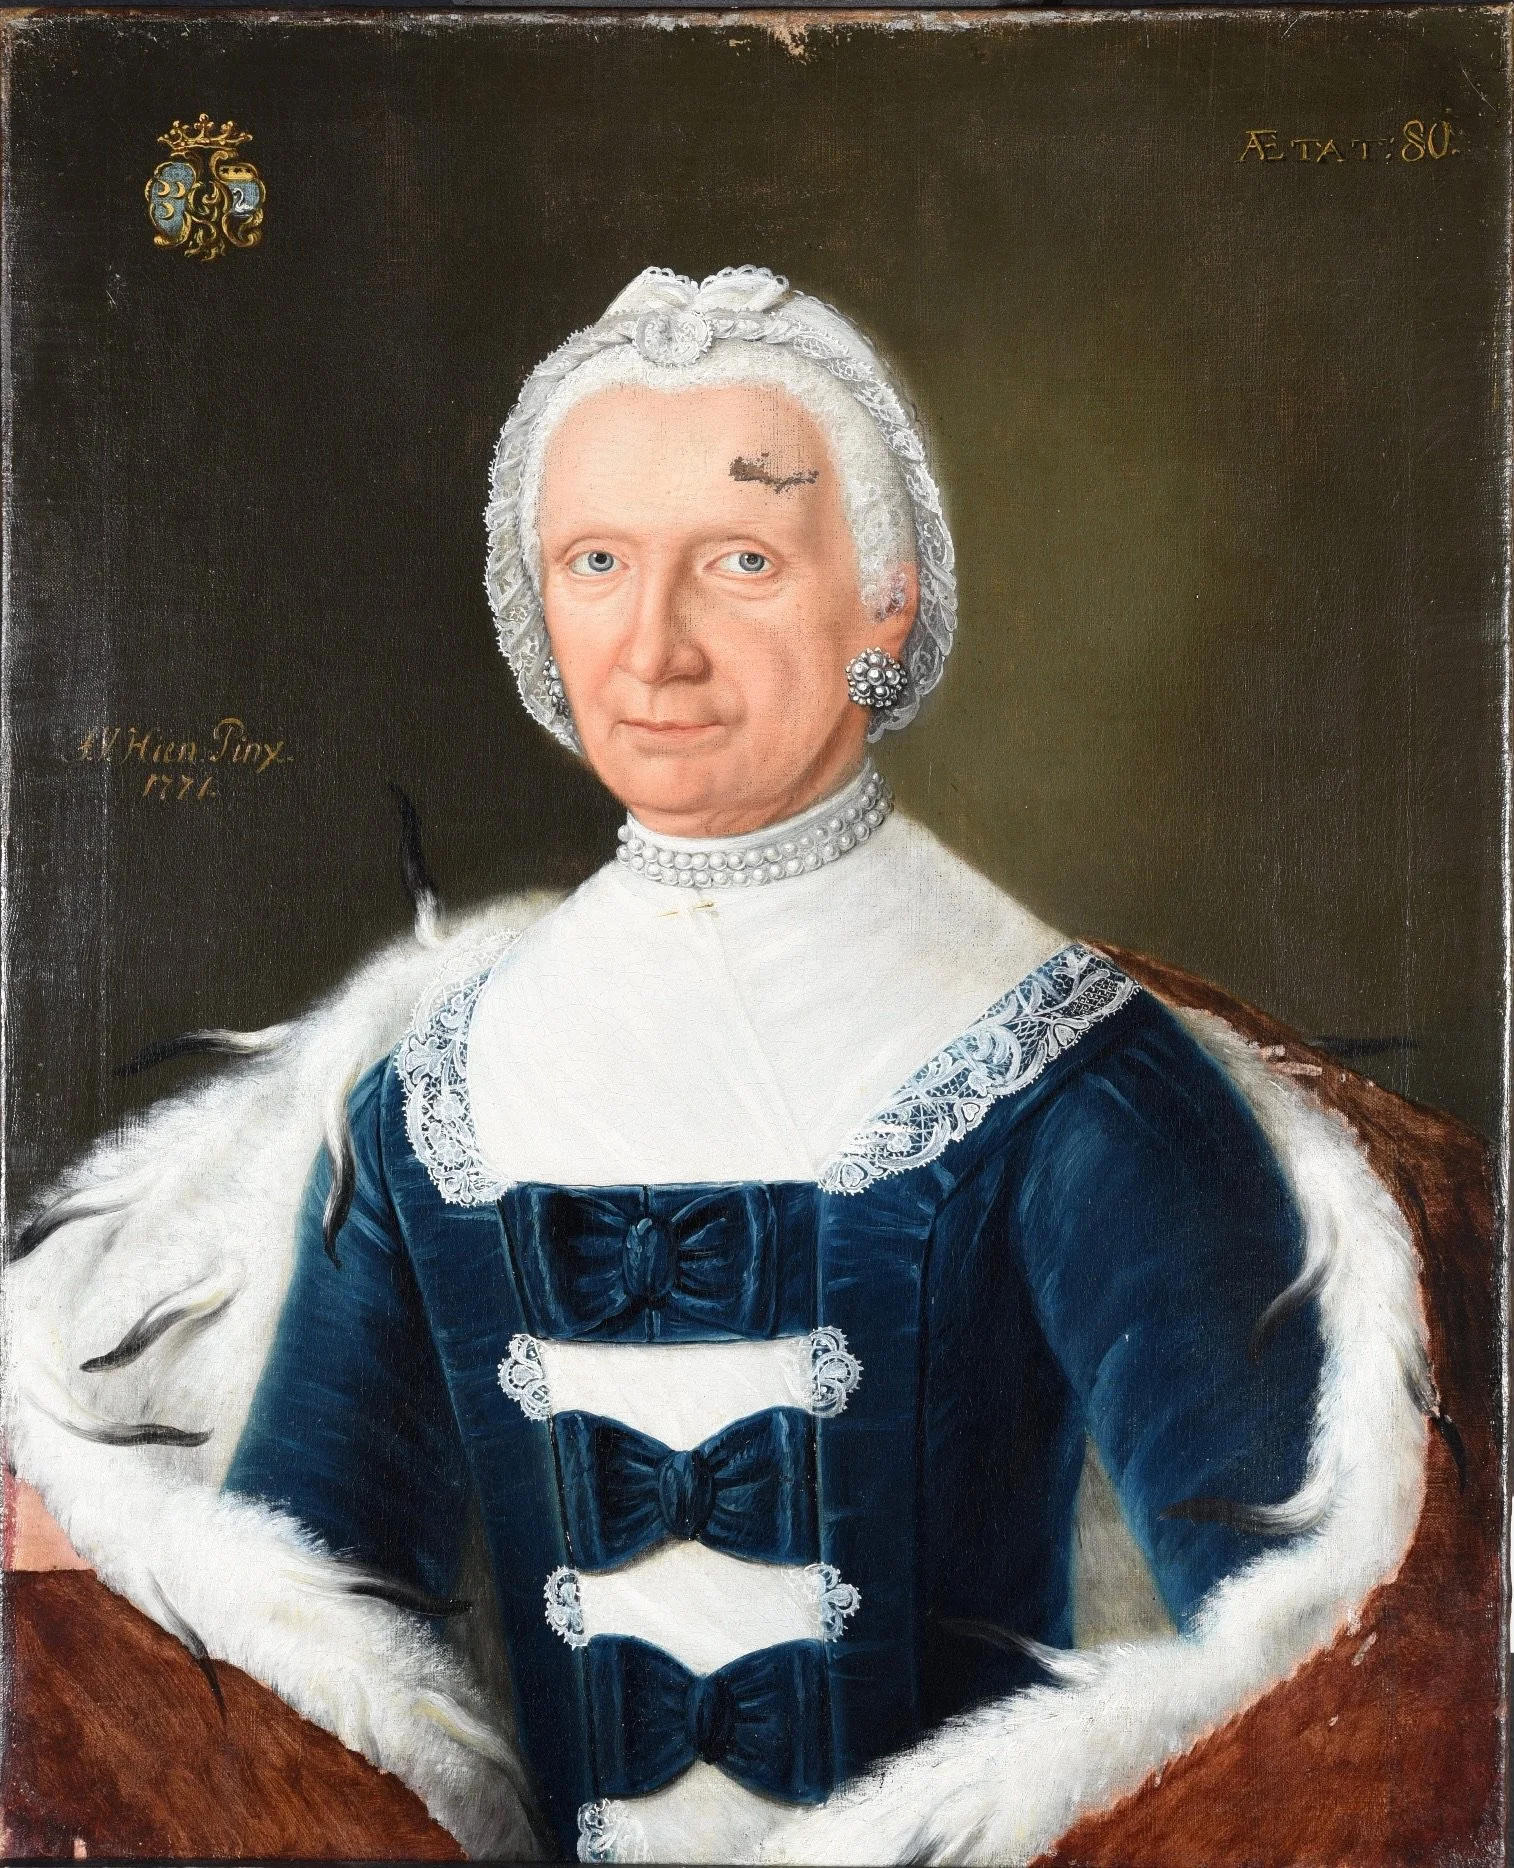
![]()
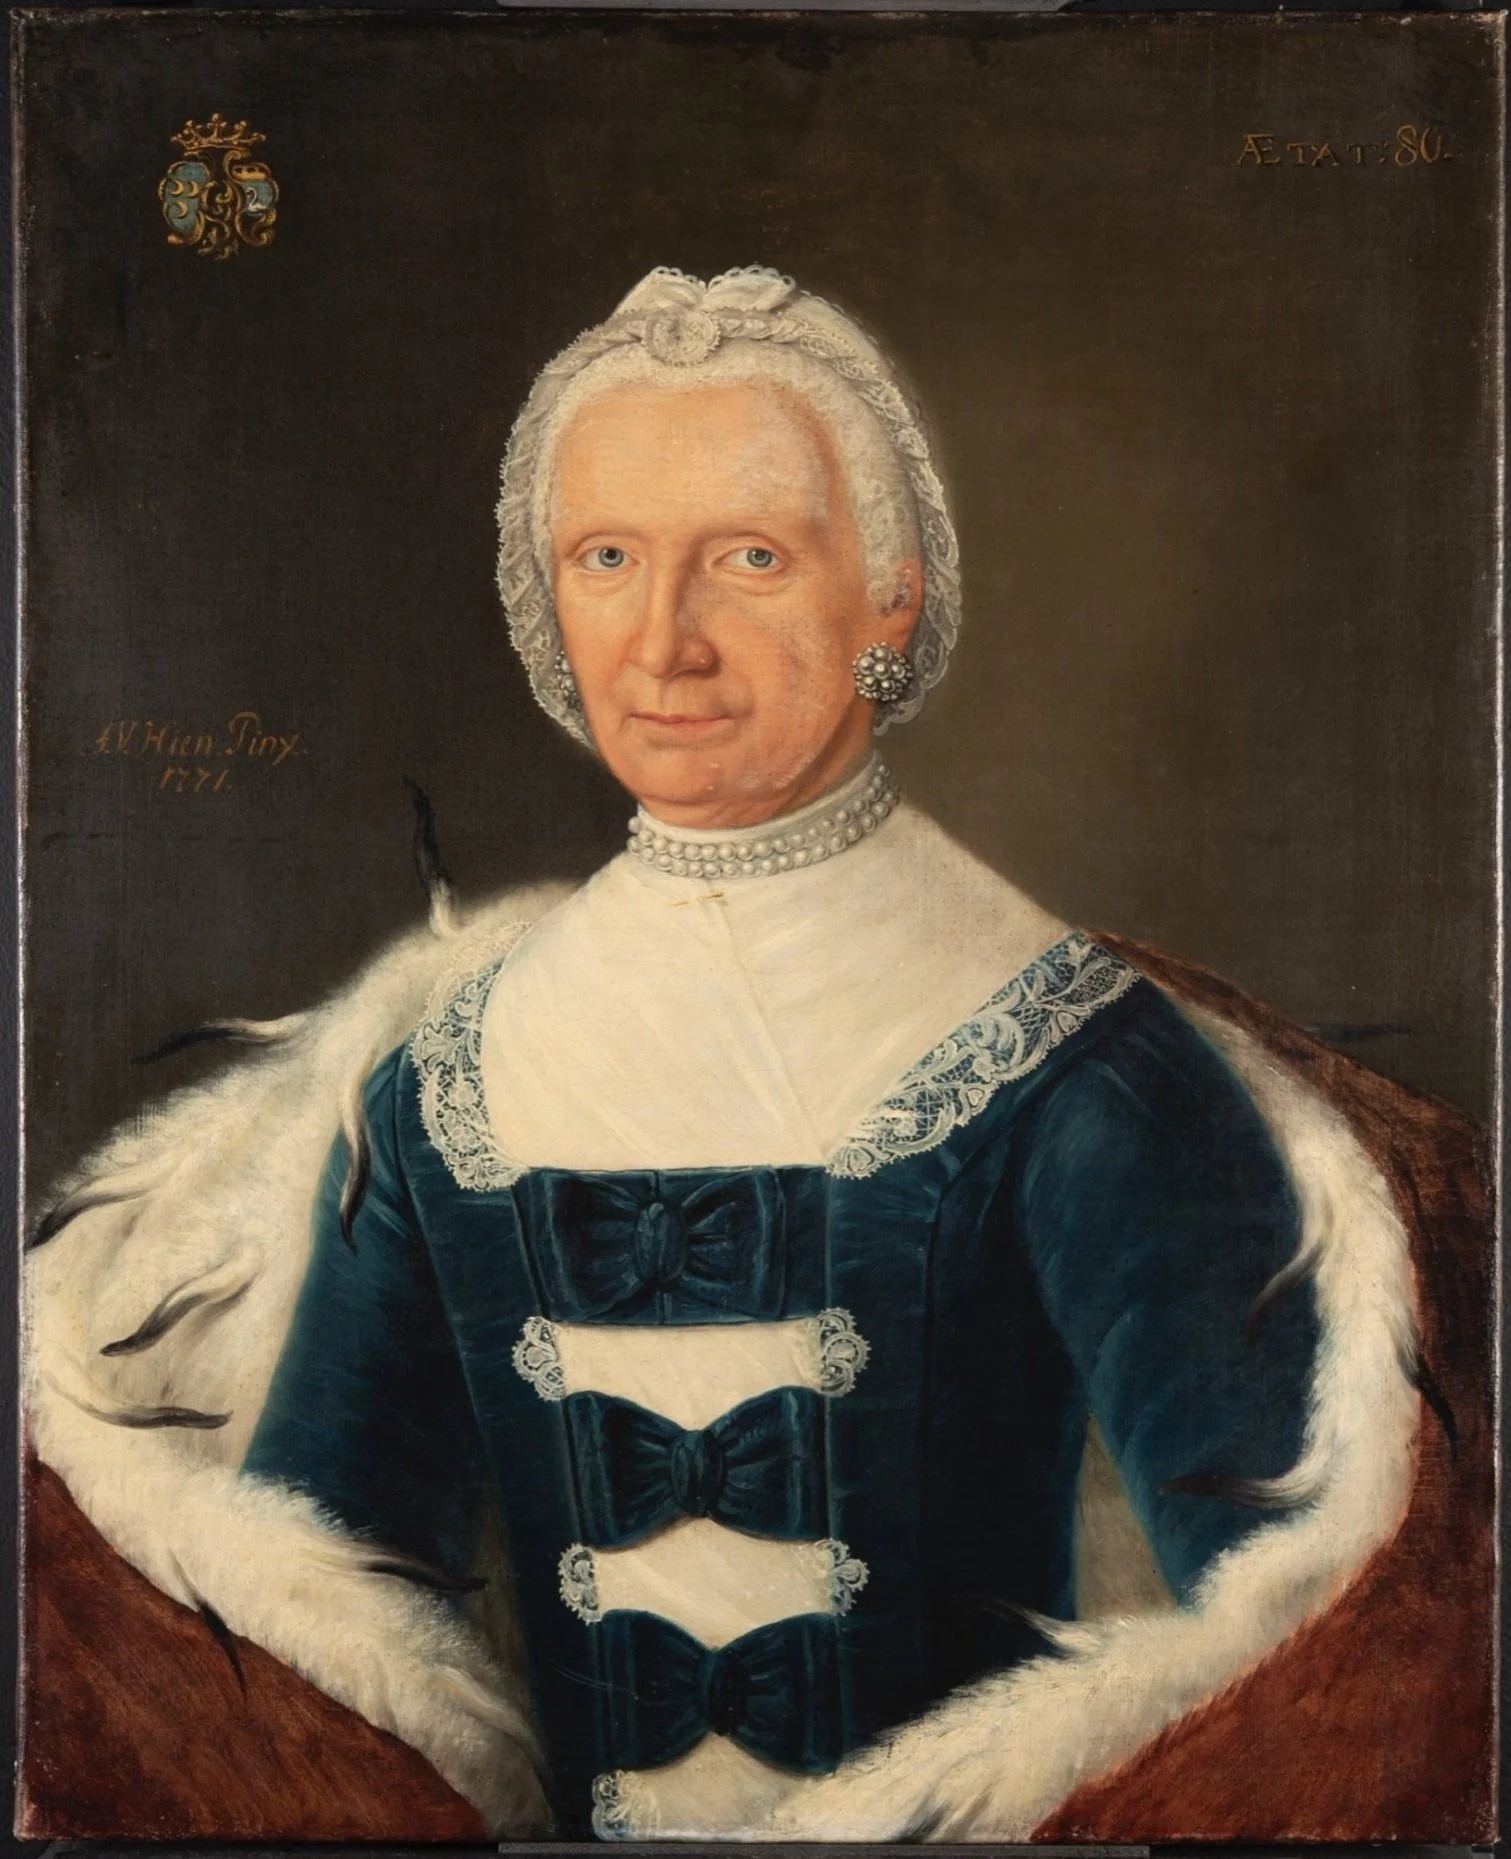
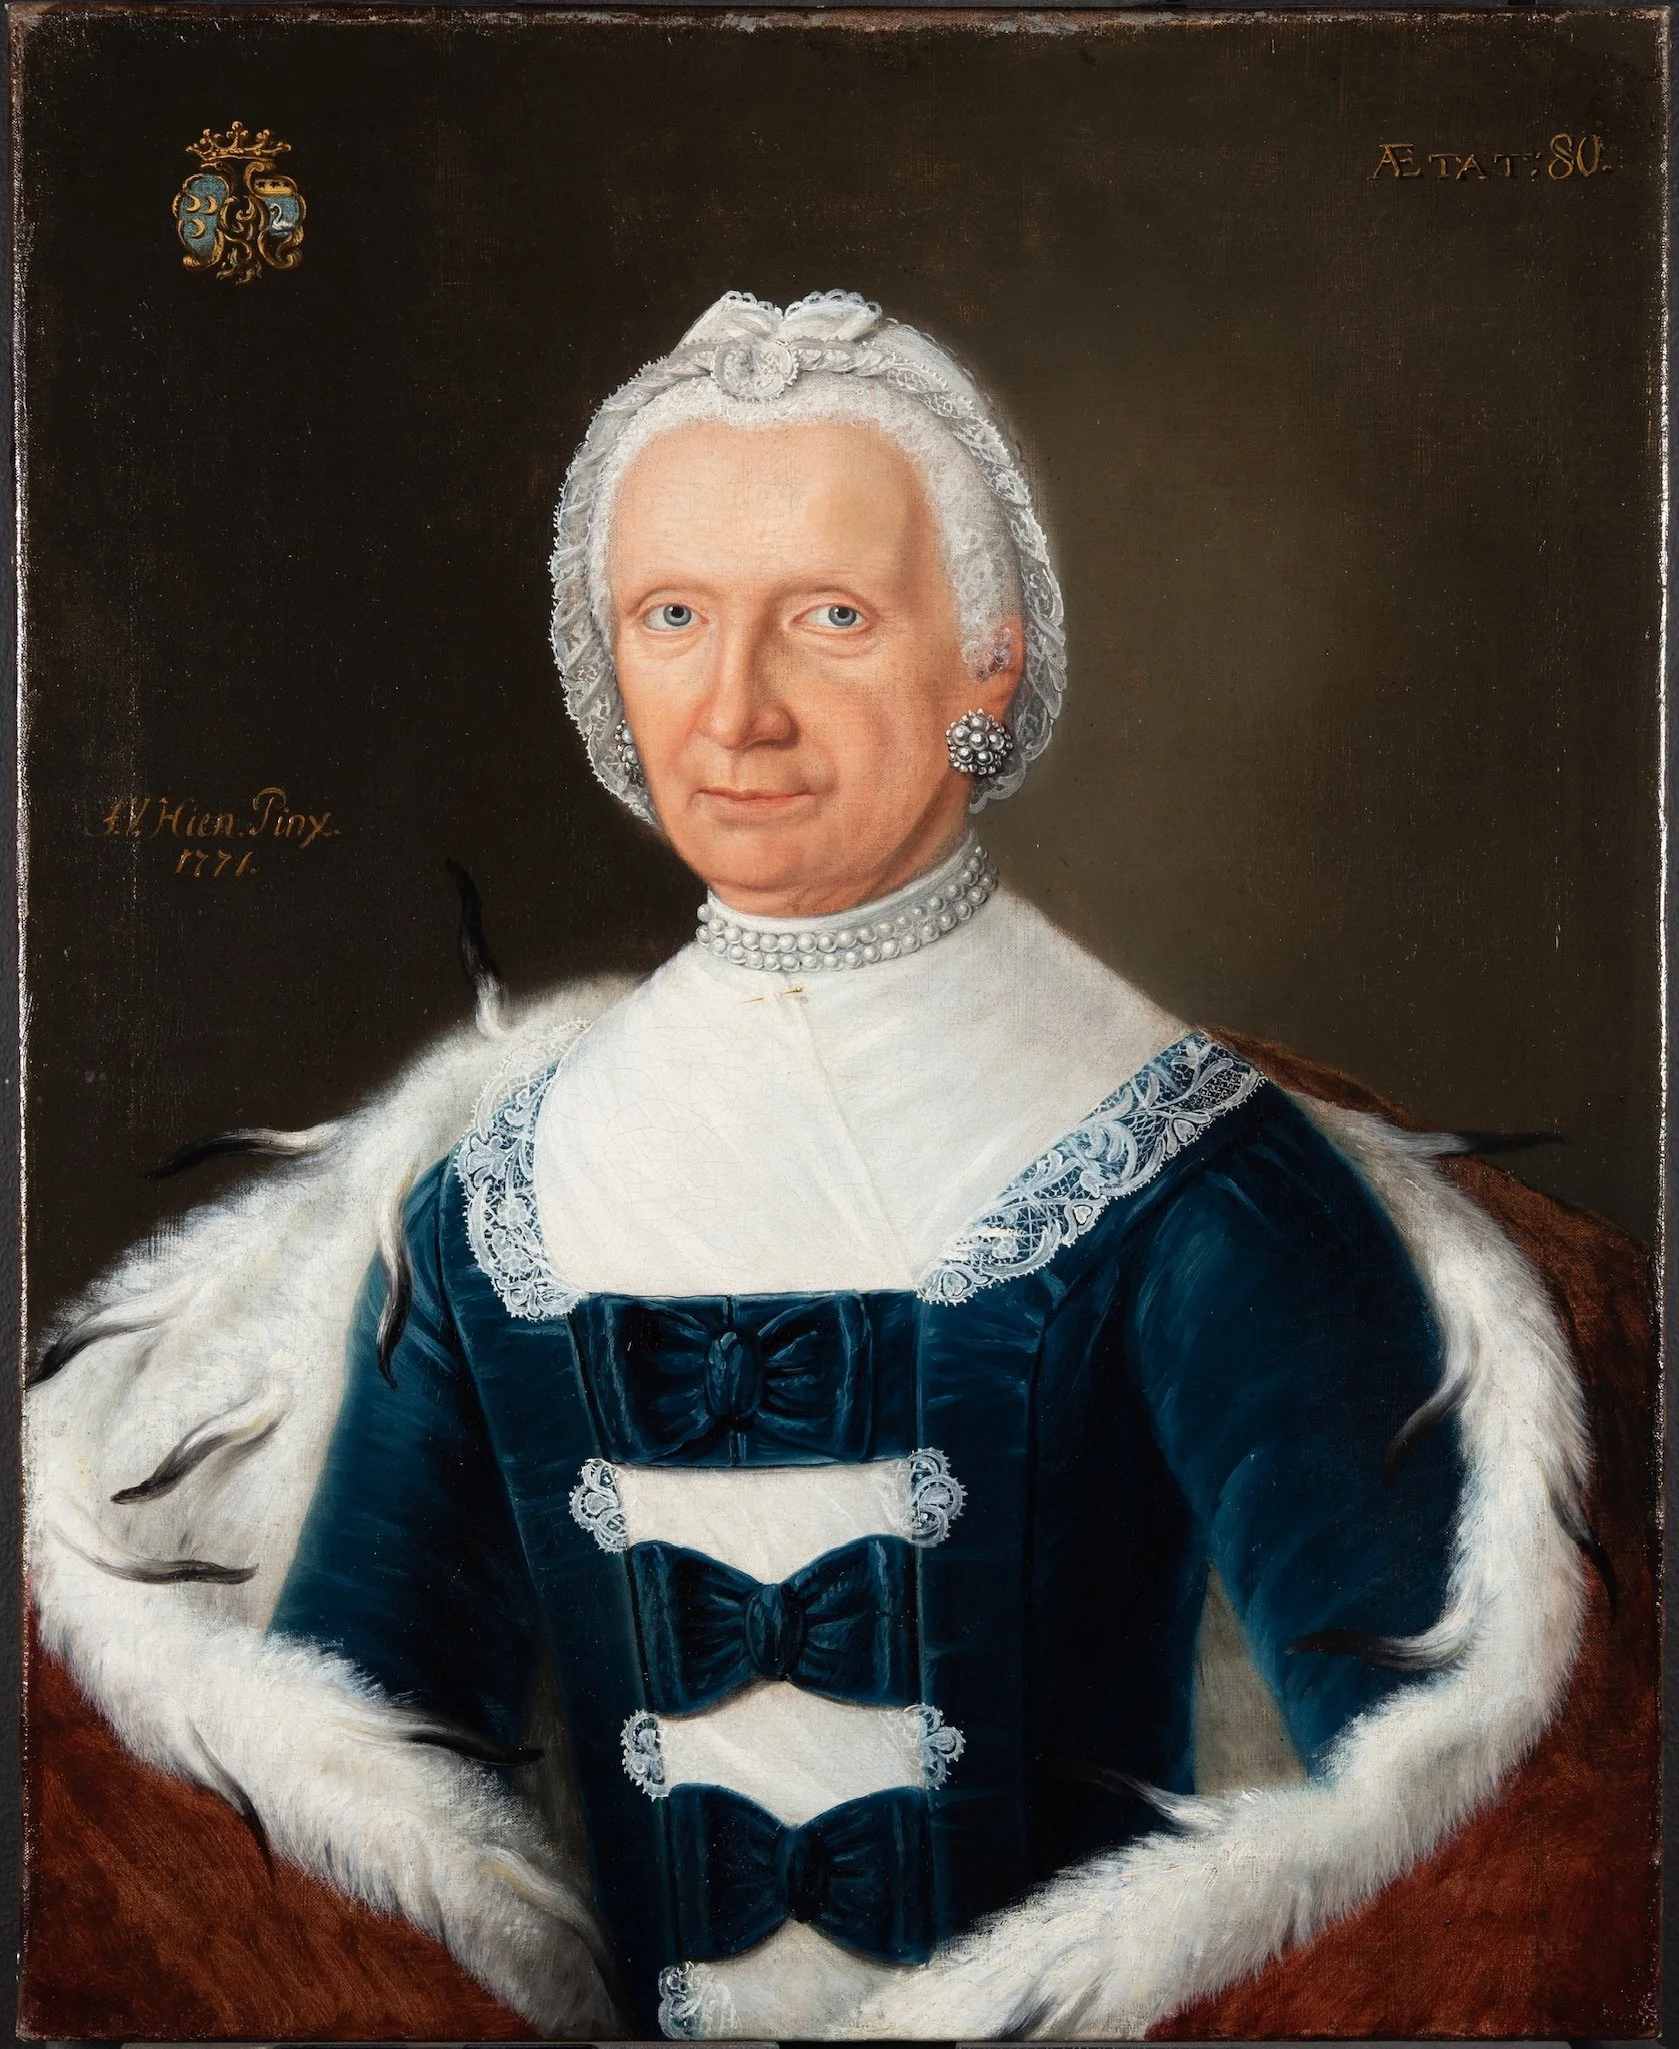
Final state